打开foxmail,点击菜单栏最右边的工具按钮,选择“账号管理”,点击左下角“新建”。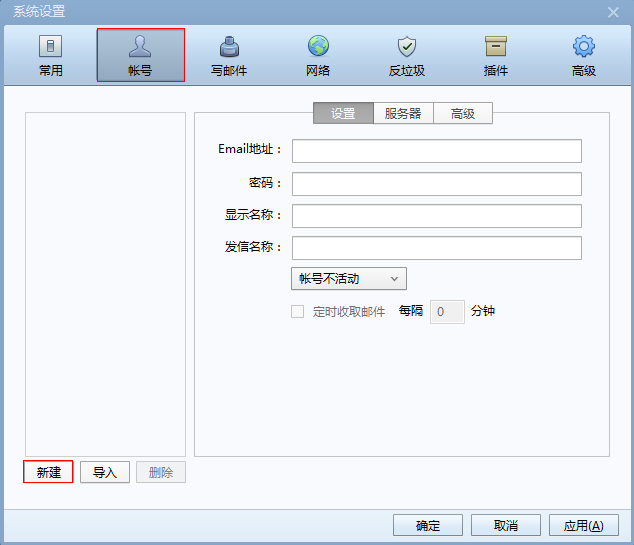
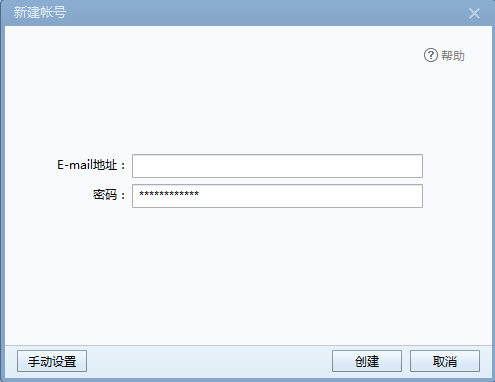
第二步:
填入完整的邮箱地址:username@ecust.edu.cn、密码,并单击左下角手动设置按钮。
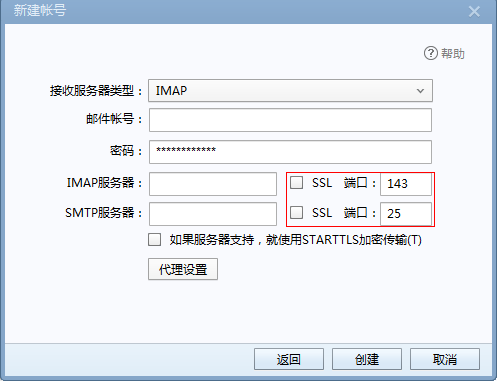
第三步:
选择接收服务器类型:IMAP,填写密码和账号;
接收邮件服务器:mail.ecust.edu.cn
不勾选“SSL”时,端口号:143;
发送邮件服务器:mail.ecust.edu.cn
不勾选“SSL”时,端口号:25;
第四步:
我们强烈推荐您使用SSL加密设置,邮箱使用更安全:
请勾选“SSL”;
imap端口号:993;
smtp端口号:994。
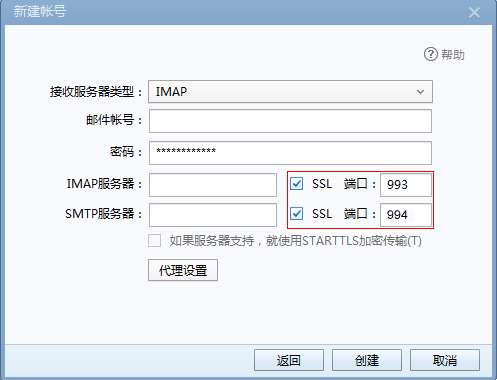
第五步:
点击“创建”,完成。