第一步:启动outlook2013,选择文件-账户设置-账户设置-“新建”。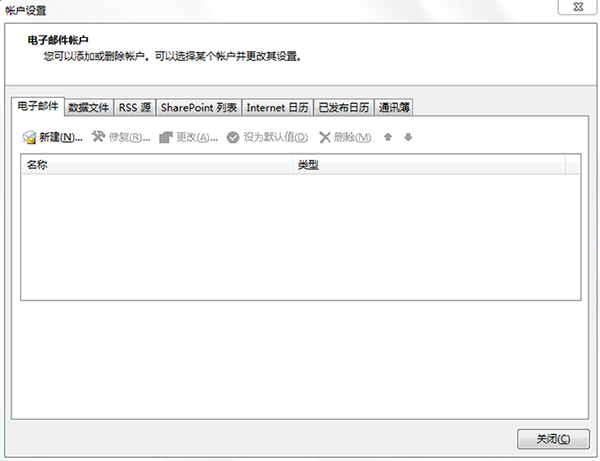
第二步:选择手动配置服务器或其他服务器类型并选择下一步。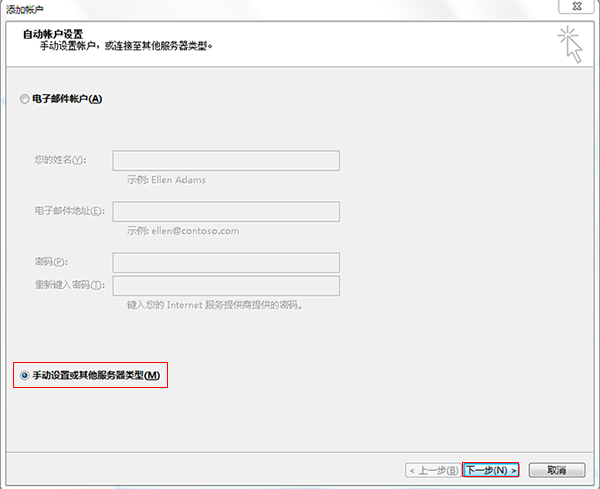
第三步:选择pop或imap并选择下一步。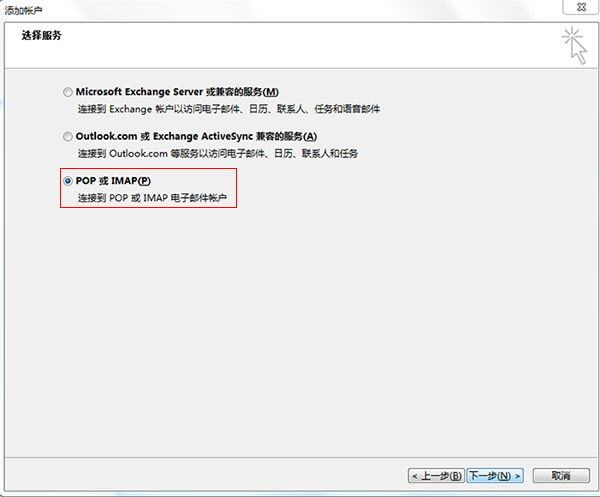
第四步:电子邮件地址:username@ecust.edu.cn
账户类型:IMAP
接收邮件服务器:mail.ecust.edu.cn
发送邮件服务器:mail.ecust.edu.cn
用户名:username@ecust.edu.cn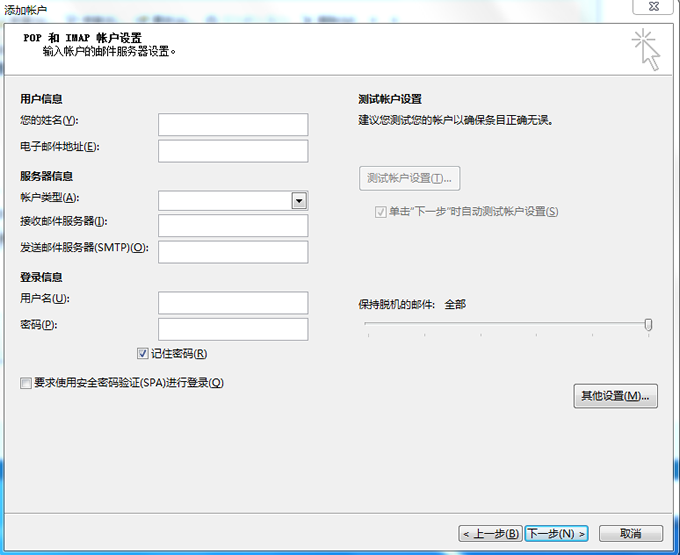
账户类型:IMAP
接收邮件服务器:mail.ecust.edu.cn
发送邮件服务器:mail.ecust.edu.cn
用户名:username@ecust.edu.cn
第五步:点击其他设置-发送服务器,选择我的发送服务器(SMTP)要求验证和使用与接收邮件服务器相同的设置。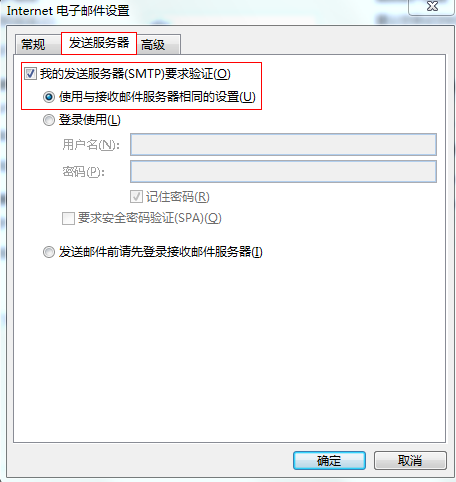
第六步:我们建议您采用SSL加密:接收服务器端口号:993,发送服务器端口号:994
第七步:如果您的邮件收发不需要采用SSL加密:接收服务器端口号为:143,发送服务器端口号为:25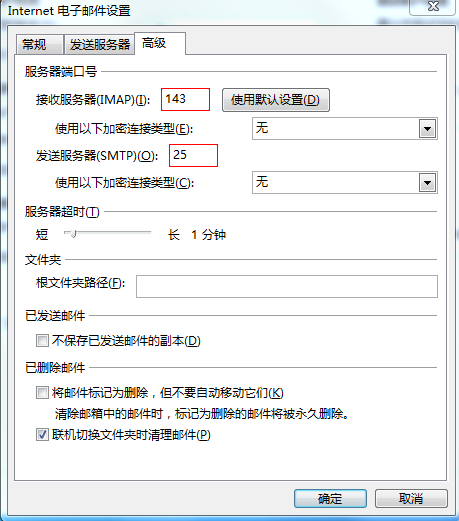
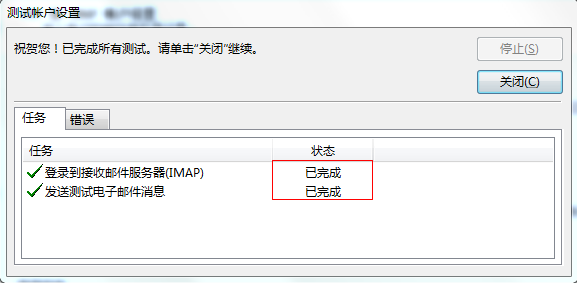
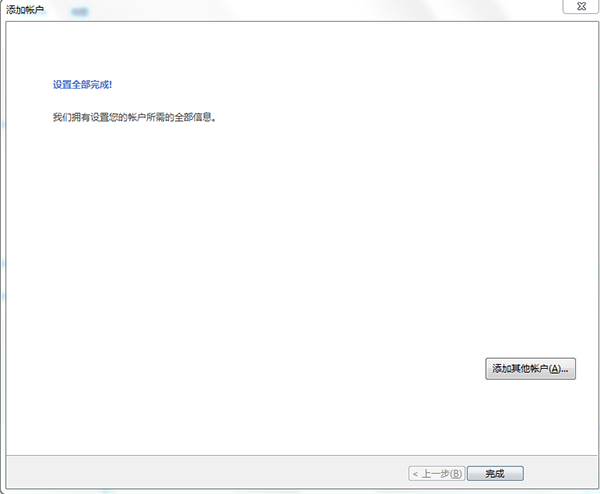
第八步:设置好之后选择下一步,测试的结果都是已完成的状态,表明账户添加成功。